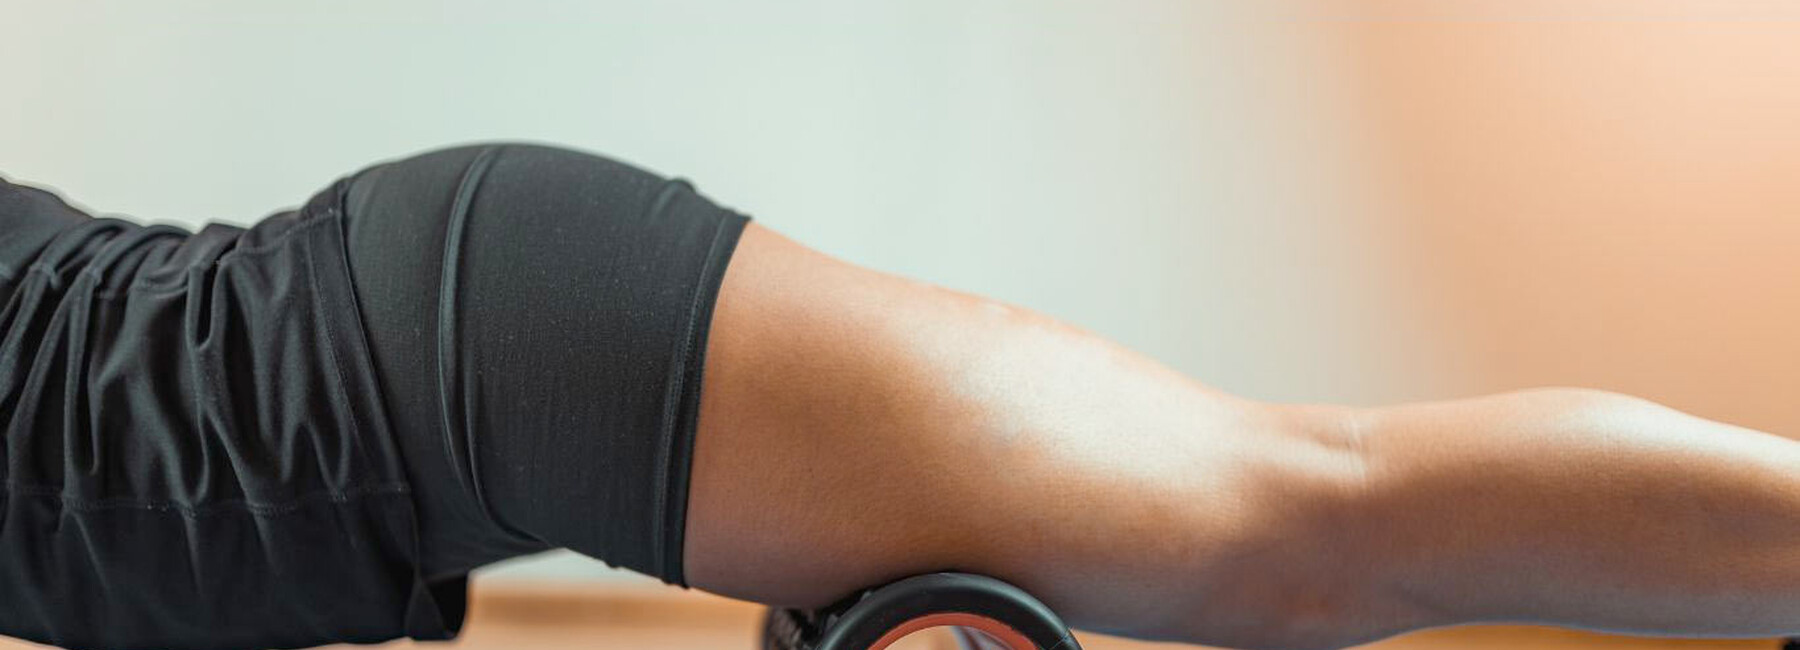
Alleviate muscle tightness, increase mobility, decrease pain, and work with trigger points....
I currently teach workshops about once a month to help you build a strong foundation in foam rolling techniques, whether you're a beginner or an experienced roller.
Here are some basics to get you started:
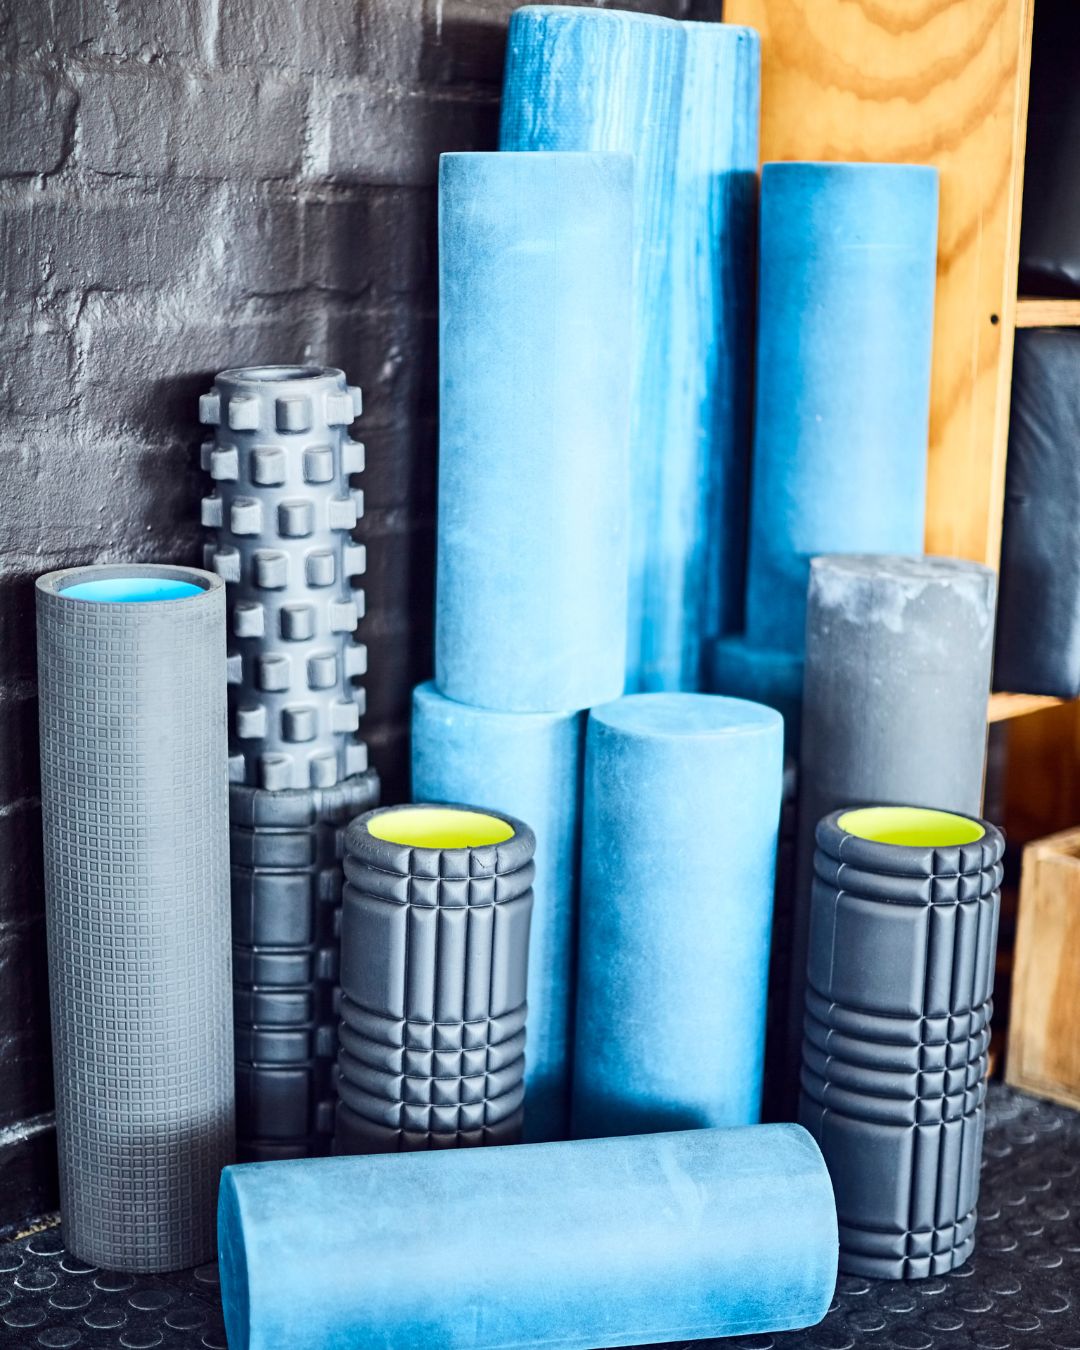
1. Choose the Right Foam Roller
Select a foam roller with an appropriate density. Softer foam rollers are ideal for beginners or those with a lower pain tolerance, while firmer rollers provide deeper tissue penetration.
2. Positioning
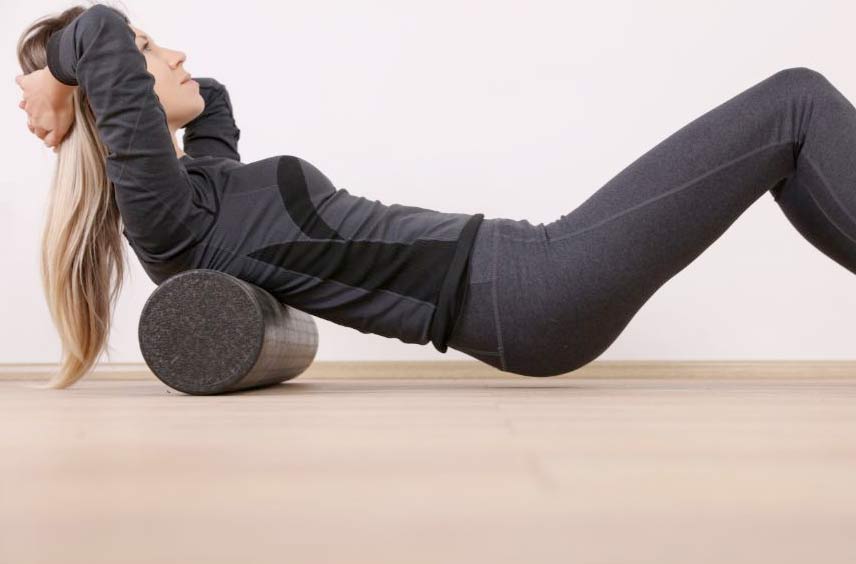
Sit or lie down in a comfortable position with the foam roller placed under the target muscle area.
3. Apply Pressure
Slowly roll the foam roller back and forth over the muscle group, applying gentle pressure. This helps warm up the muscles, increase blood flow, and release adhesions in the tissues, allowing for better mobility.
4. Areas to Be Cautious With
- Do not roll directly on your lower back, between the bottom of your ribs and the top of your hip bones. Rolling here can cause discomfort rather than relief, and your organs are not protected by your skeleton in this area.
- Steer clear of rolling directly over your knees and elbows to prevent hyperextension. However, working close to these joints is beneficial since muscle attachment points often become tight.
- Be gentle when rolling your neck. Instead of rolling up and down, keep the roller still and gently move your head from side to side.
- Skip rolling your IT band directly. Many people do this, but it’s very painful and yields limited results. Check out my next post or Instagram for tips on relieving IT band syndrome. Here's a mini tip—roll the muscles that attach to the IT band instead, here's a diagram for guidance!

5. Identify the Trigger Point
Roll over the muscle area gently and feel for a tender spot or knot. Pause when you find one.
6. Maintain Pressure
Hold the foam roller on the trigger point for 20–30 seconds or until you feel the muscle begin to release and relax.
7. Breathe and Relax
Take deep breaths and focus on relaxing your muscles while applying pressure. This helps enhance the effectiveness of your foam rolling session.
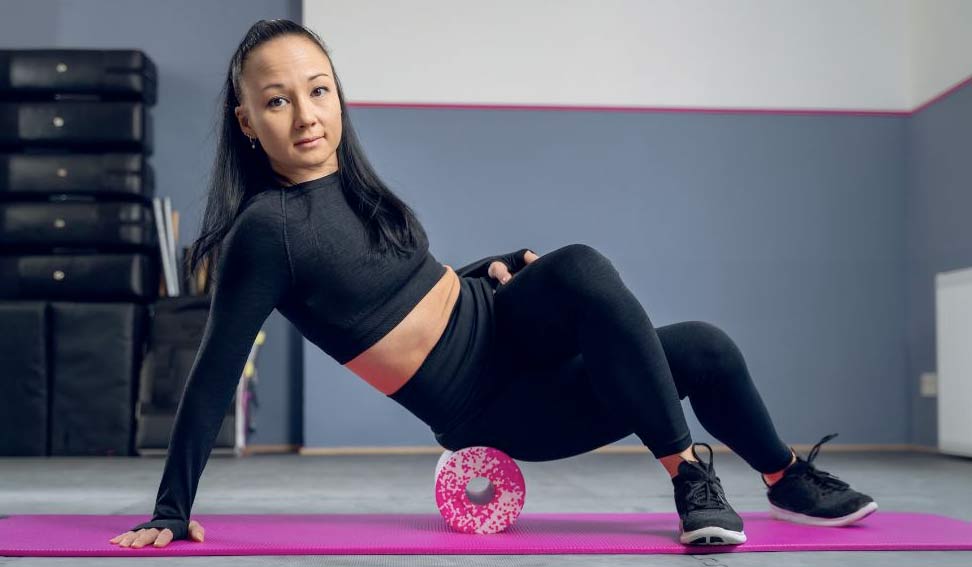
Remember to breathe! Long slow breaths really help if its uncomfortable...
8. Rolling Technique
Continue rolling along the muscle groups, targeting other tight areas or trigger points. Roll slowly and mindfully—too much pressure11. or speed can cause discomfort.
9. Listen to Your Body
Some discomfort is normal, but sharp pain is not. If you experience sharp pain, stop immediately.
10. Repeat as Needed
Regular foam rolling can help release muscle tension and improve flexibility over time. Focus on tight or problematic areas for the best results.
Want More Detail?
Join one of my foam roller workshops (details on my Instagram), or even better, book an appointment at my clinic to tailor your foam rolling routine to your specific needs and activity level.
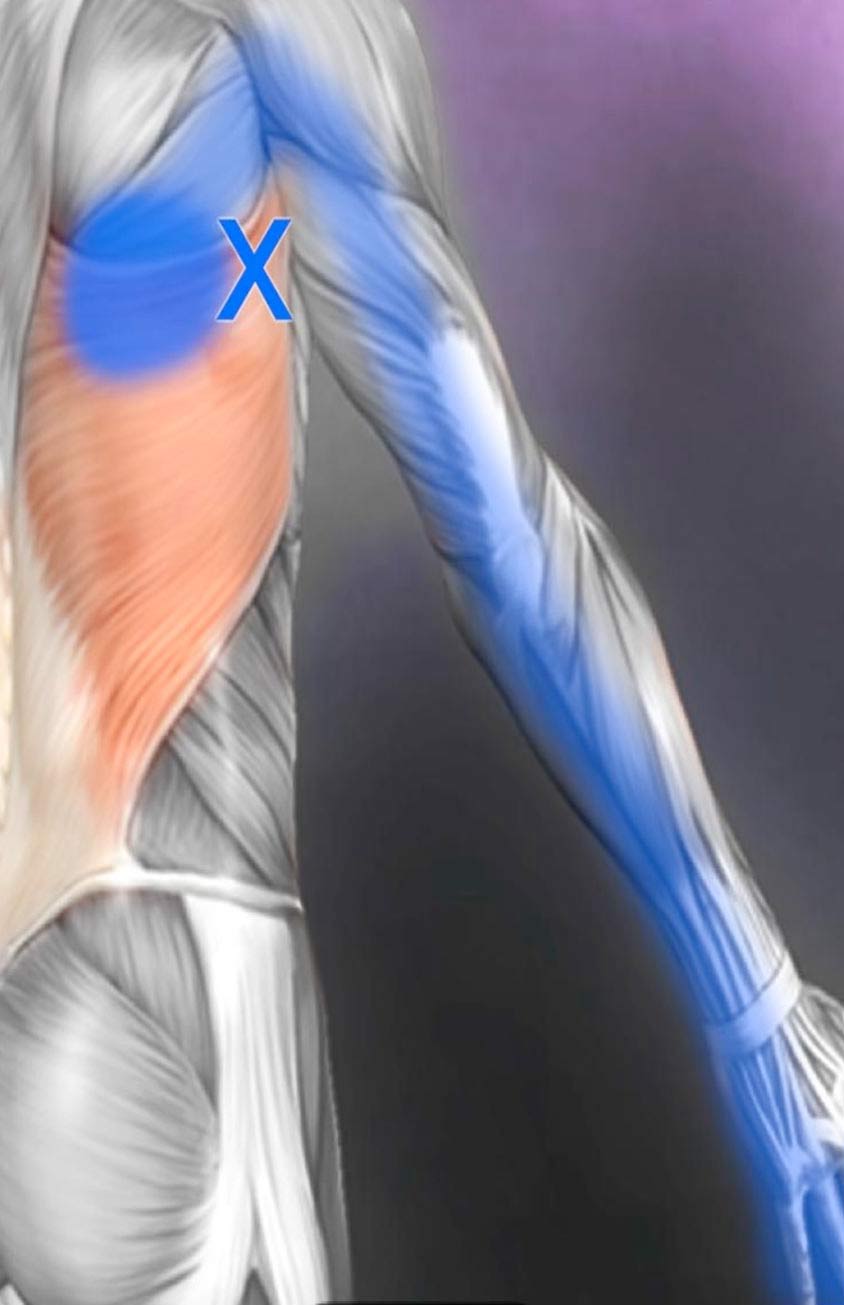
Check out my previous blog for more info on trigger points!
Foam Rolling as a Warm-Up
You can use foam rolling before exercise to increase blood flow and help prevent injuries by helping you to warm up effectivly.
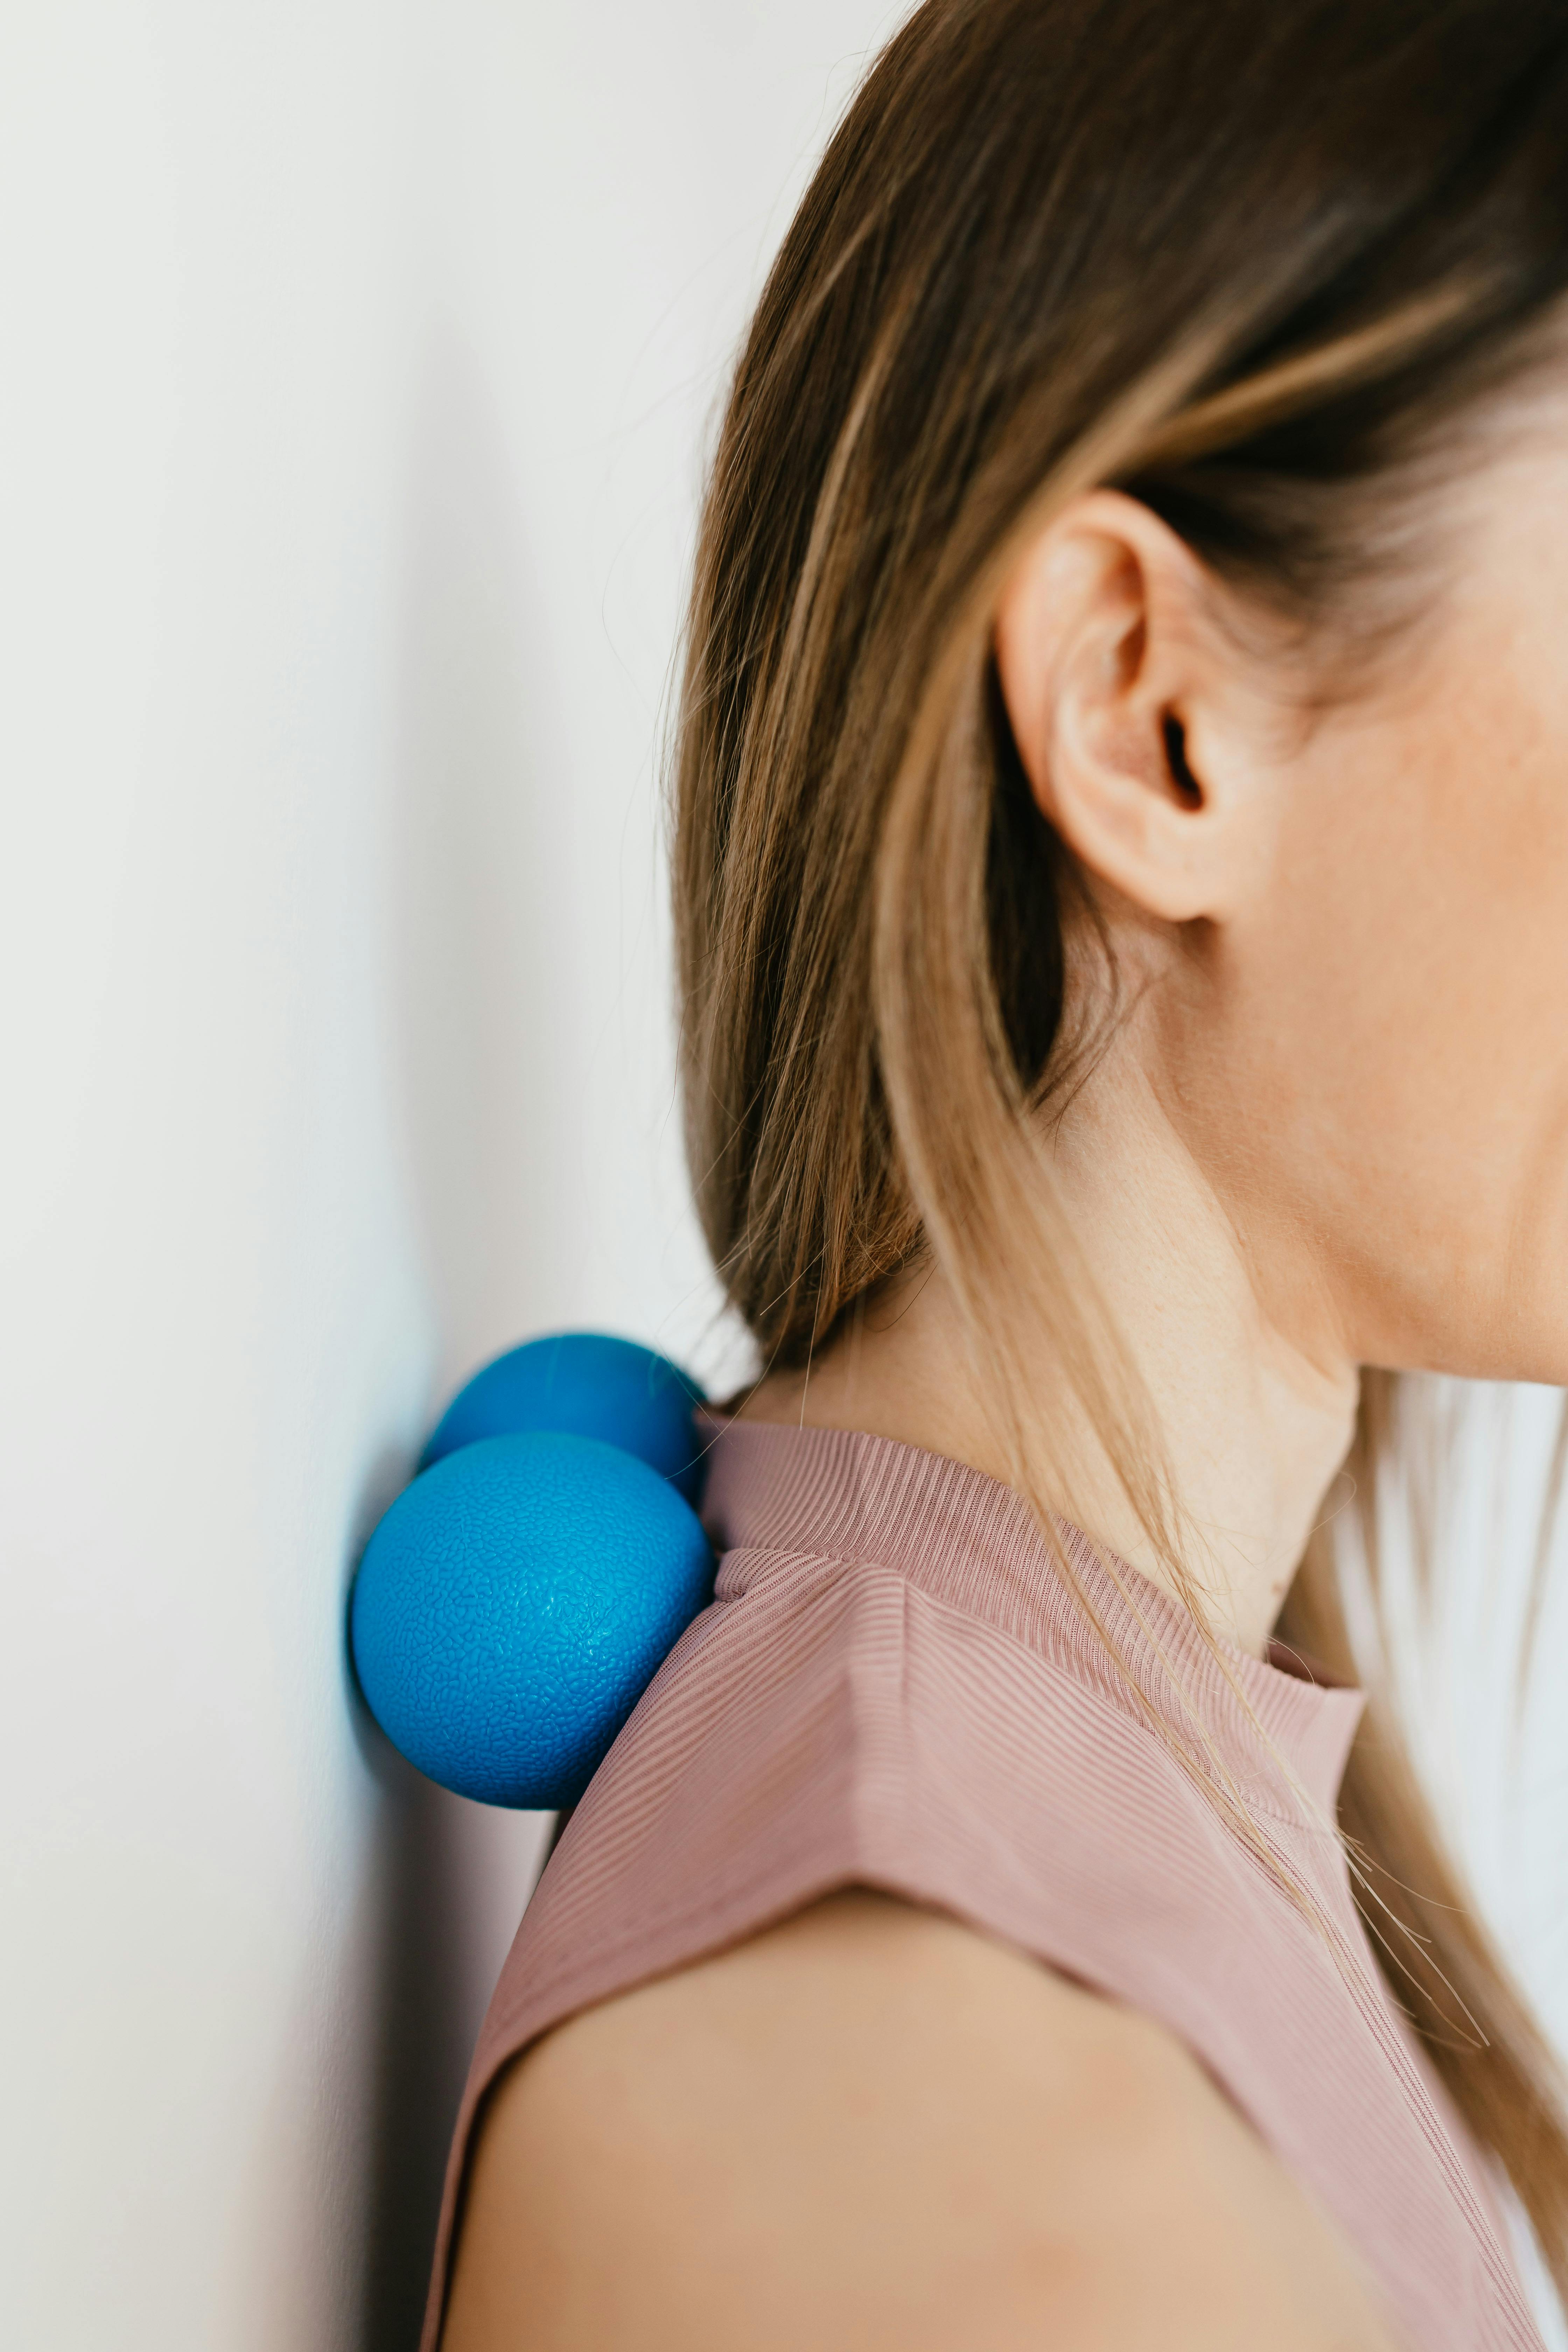
You can also experiment with other tools - like massage guns or balls. The same theories apply but it can be more intense. Take it slow and listen to your body.
Follow-Up
To get the most out of your foam rolling routine, consider incorporating stretching exercises afterward for improved flexibility and muscle recovery.
Important: If you experience severe pain or discomfort while foam rolling, stop immediately and consult a healthcare professional for guidance.
